
Directly Transfer iPhone Photos & Videos to Windows PC
Connecting your iPhone to a Windows computer for seamless media transfer is straightforward. This direct connection method is ideal for quickly copying photos and videos. For other file types, explore alternative solutions outlined further below.

Accessing Your iPhone’s Media on Windows
- Connect and Locate: Use a compatible USB cable to connect your iPhone to your Windows PC. Your iPhone will appear under “Devices and Drives” within File Explorer. This functions similarly to connecting an external drive.

- Navigate to DCIM: Open the Apple iPhone icon, then access “Internal Storage,” followed by the “DCIM” folder. This directory houses your media, organized into folders typically labeled by date.

- Select and Transfer: Choose the desired folder containing your photos and videos. From here, you can copy and paste, or drag and drop, the files to your preferred location on your Windows PC.

 .jpg 300w, https://appletoolbox.com/wp-content/uploads/2024/10/How-to-Transfer-Files-from-iPhone-to-Windows-Machines-Using-Just-a-USB-Cable-5-540×287.jpg 540w, https://appletoolbox.com/wp-content/uploads/2024/10/How-to-Transfer-Files-from-iPhone-to-Windows-Machines-Using-Just-a-USB-Cable-5-768×408.jpg 768w, https://appletoolbox.com/wp-content/uploads/2024/10/How-to-Transfer-Files-from-iPhone-to-Windows-Machines-Using-Just-a-USB-Cable-5-360×191.jpg 360w, https://appletoolbox.com/wp-content/uploads/2024/10/How-to-Transfer-Files-from-iPhone-to-Windows-Machines-Using-Just-a-USB-Cable-5-770×409.jpg 770w” data-sizes=”(max-width: 800px) 100vw, 800px” style=”–smush-placeholder-width: 800px; –smush-placeholder-aspect-ratio: 800/425;”>
Step 5: Select the files you want to transfer from iPhone to Windows and right-click anywhere in the same panel to access the “Copy” function.

Step 6: Click “Copy” and then open a folder you want to move the files to. Click Ctrl and V together to paste in the copied files.

Method 2: Wirelessly Transfer Files from iPhone to Windows Devices
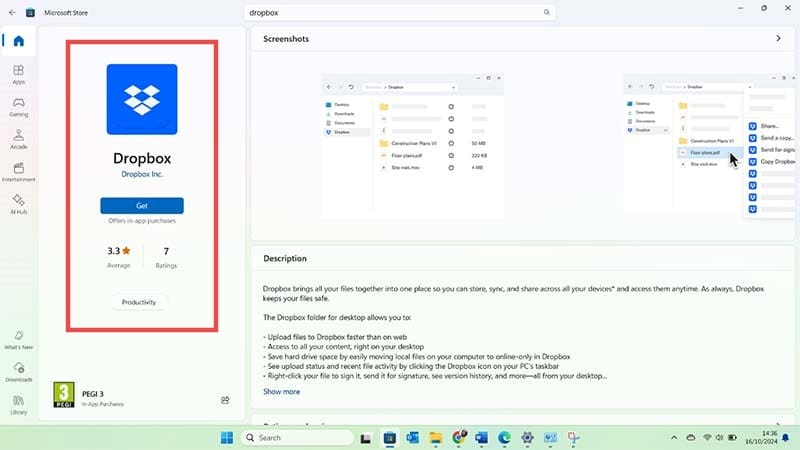
Step 1: Make sure you have a cloud storage account and a corresponding app that you can get for both your Windows device and your iPhone, e.g., OneDrive, Dropbox, or Google Drive.
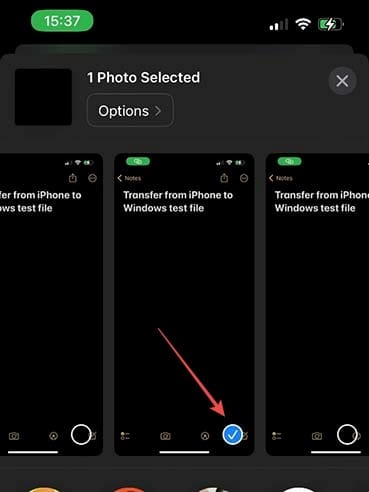
Step 2: Sign in to the app using the same login details on both devices. Then, on your iPhone, save any files you want to access on your Windows device in the same Cloud storage app. In this example, we’re saving a screenshot of some text directly from the Photos app:
- Select the photo you want
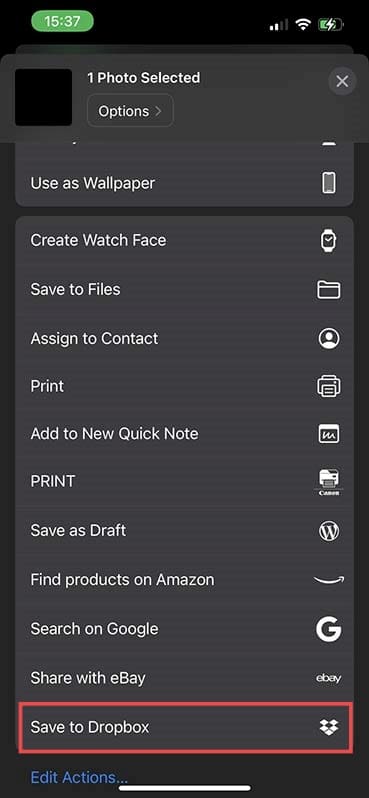
- Select “Share” then “Save to Dropbox” (or the Cloud storage app of your choice).
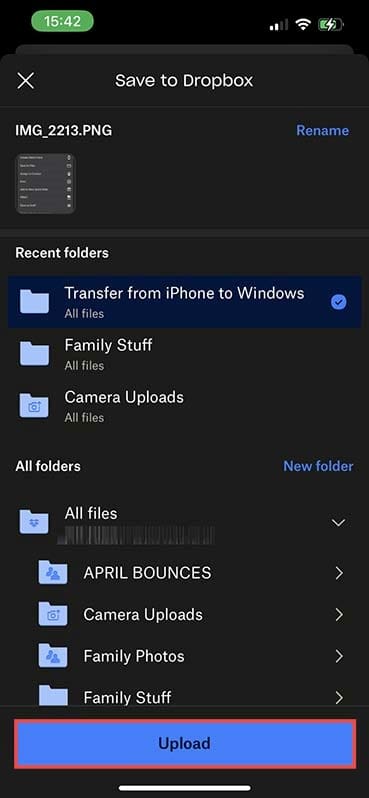
- Choose the folder you want to use and click “Upload.”
Step 3: Open the same app on your Windows device. (Note: It’s best to wait 10-15 minutes to ensure the file has had time to upload to the cloud service.) Navigate to the same folder and the file you saved should be there. You can now access the file or copy it to your Windows PC or laptop as needed.

Bonus Tips and Troubleshooting
Here’s how to deal with common issues that crop up when using these methods:
- iPhone won’t connect by USB cable: This is usually a problem with the cable itself or the USB slot. Try the cable in a different USB socket or use a different cable.
- Files appear in the Cloud storage app on one device but not the other: Check that both devices have an active internet connection. Wait 10-15 minutes, reboot both devices and check again.
As long as both devices have a strong Wi-Fi connection, the wireless method is usually the most reliable. Just double-check you have enough storage for any larger files you may want to transfer, such as long videos.
Related Posts:
-

Why Does My iPhone DCIM Folder Appear Empty on a PC?
-

External Hard Drive Not Working With iPad or iPhone…
-

The Best NAS Drives For Mac
-

How to backup your iPhone or iPad photos to an…
-
How to Use Notes on Mac: A Complete User Guide
-

How to Transfer Files Between iPad and Windows PC…
-

How to Eject USB From Mac
-

How to AirDrop from iPhone to Windows PC
-

Automator Workflow Types: Understanding The Differences


