Seamlessly Integrate Your Outlook Calendar with iPhone
Synchronizing your Outlook Calendar with your iPhone ensures you have your schedule readily available wherever you go. This comprehensive guide provides a streamlined approach to connecting these two platforms, ensuring appointments, meetings, and reminders are always at your fingertips. Before starting, ensure you have your Outlook credentials handy.
Connecting Your Outlook Calendar: A Step-by-Step Tutorial
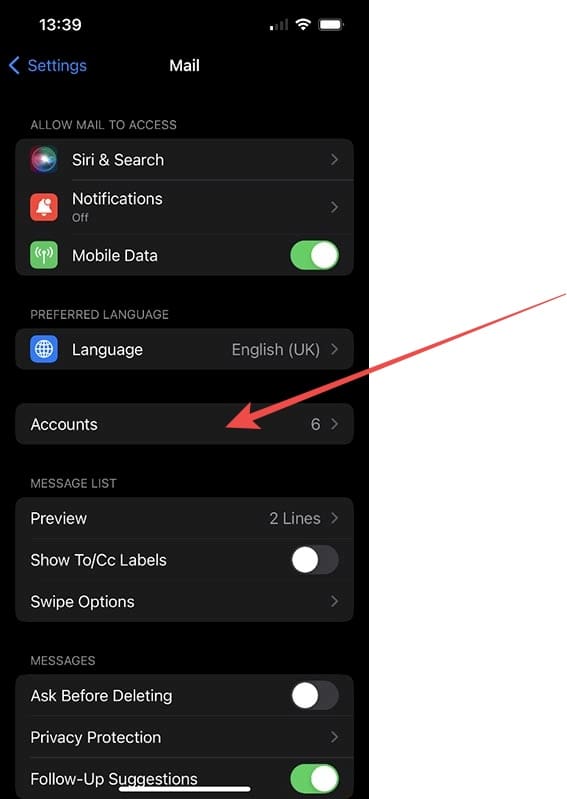
1. Access Account Settings: Navigate to your iPhone’s “Settings” menu. Locate and select “Mail,” then tap “Accounts.”
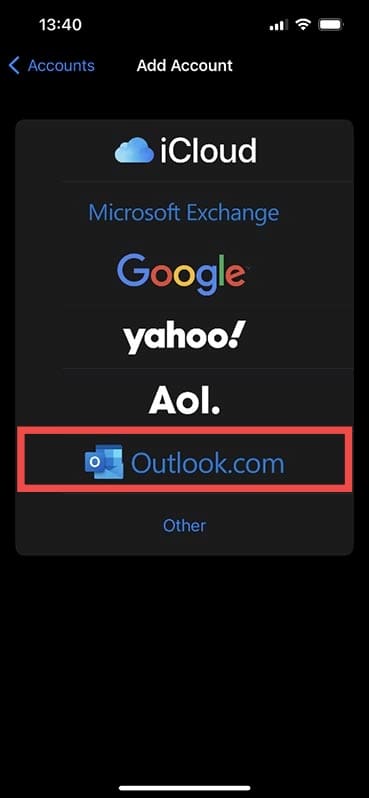
2. Integrate Your Outlook Account: Tap “Add Account” and choose “Outlook.com” from the list of providers. Enter your Outlook email address (which typically serves as your username) and password as prompted.
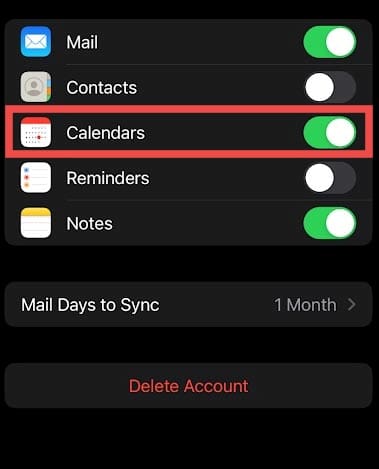
3. Activate Calendar Synchronization: Within the newly added Outlook account settings, ensure the “Calendars” toggle is enabled. It should appear green when active. This allows your iPhone to access and display your Outlook calendar data.
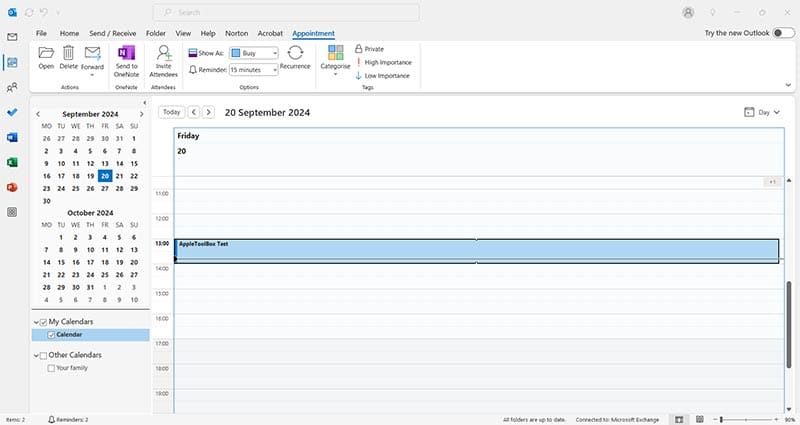
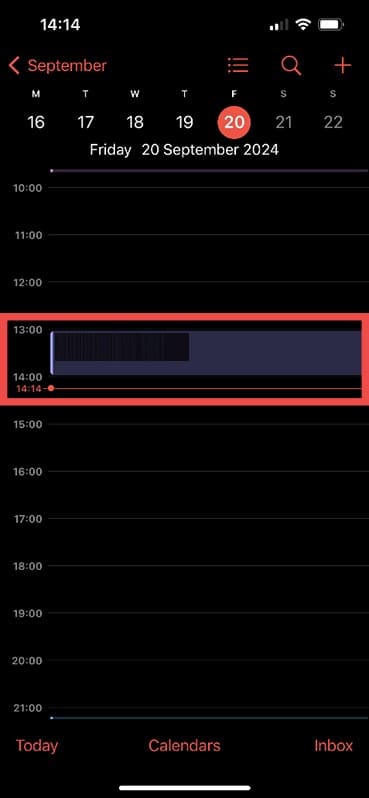
Bi-Directional Synchronization: Adding an event in either your Outlook or iPhone calendar will automatically update the other, provided both devices are online. Your iPhone intelligently assigns distinct colors to each calendar to maintain clarity. When creating a new event on your iPhone, select the “Calendar” option with the arrows to choose where the event should be saved, including your connected Outlook calendar.
Alternative Connection Methods and Troubleshooting
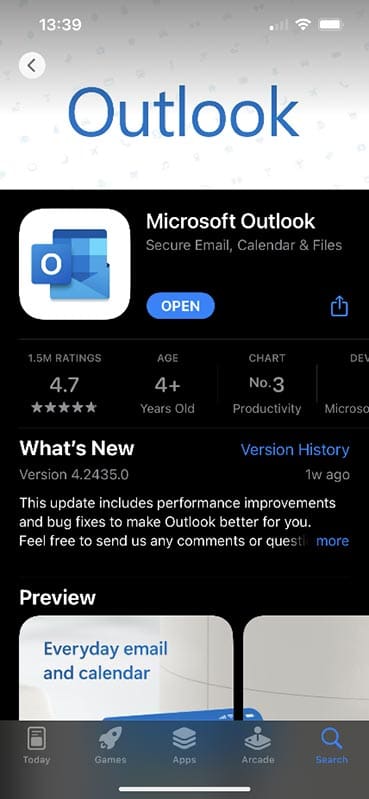
Dedicated Outlook App: For a centralized Outlook experience, download the official Microsoft Outlook app from the App Store. This provides integrated access to your email, calendar, and contacts, though calendar entries won’t automatically appear in the default iPhone calendar app. This approach is beneficial for offline access to previously synced data, unlike direct calendar synchronization which requires an internet connection.
Troubleshooting Synchronization Issues: If synchronization problems arise, removing and re-adding your Outlook account often resolves the issue. Within the “Accounts” settings, select your Outlook account and choose “Delete Account.” Then, repeat the initial setup steps to re-establish the connection.
